No products in the cart.
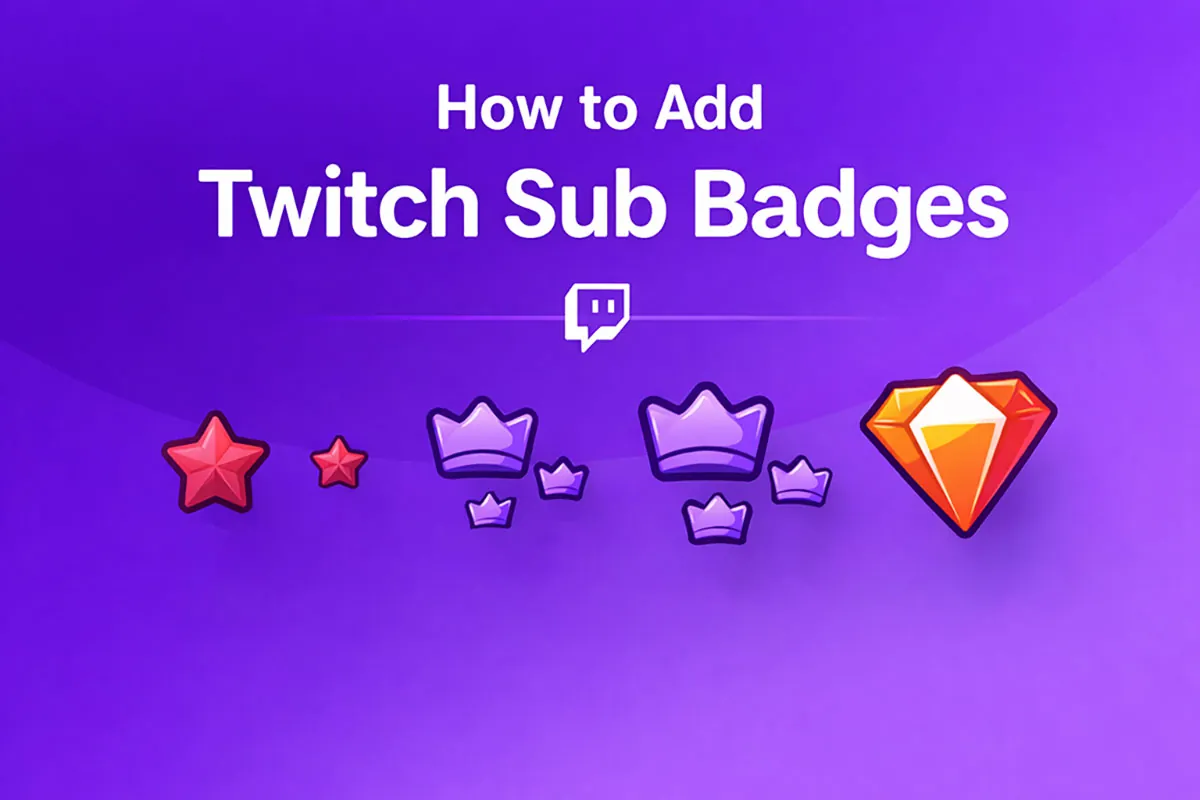
Subscriber badges are custom icons that show next to a viewer’s name in chat to represent how long they’ve supported your channel. These badges help build community, reward loyalty, and give your stream a more professional feel.
If you’re ready to add your own Twitch sub badges, follow this easy step-by-step guide.
Step 1: Prepare Your Badge Files
Before uploading, you must create badge images in three sizes required by Twitch:
- 18 × 18 pixels
- 36 × 36 pixels
- 72 × 72 pixels
All images must be square PNG files with transparent backgrounds. Keep designs simple and readable at very small sizes.
📌 Tip: Small details don’t show up well at tiny sizes, so focus on bold shapes and high contrast colors.
Step 2: Open Twitch Creator Dashboard
- Log in to your Twitch account.
- Click your profile icon in the top right.
- Open Creator Dashboard.
- In the left sidebar, expand Monetization.
- Select Subscriptions → Subscriber Badges.
Step 3: Upload Your Badges
- In the Subscriber Badges panel, there’s a list of badges for different subscription milestones (like 1-month, 3-months, 6-months).
- Click the + next to a tier to upload badge images.
- Upload your three sizes for each badge tier (18, 36, 72 px).
- Twitch will automatically assign them to subscribers based on how long they’ve supported you.
Step 4: Save and Publish
After uploading all sizes for a tier, click Save. Your badges will now appear in chat beside subscriber names at each loyalty level.
Bonus Tips for Better Badges
Design for clarity: Because badges are tiny in chat, avoid tiny text or delicate details.
Use consistent branding: Incorporate your channel colors or theme so badges match your visual style.
Test on devices: Check how badges look in both light and dark chat modes.
Need ready-to-use badges?
If you want professional, Twitch-optimized badges ready to upload, check out our Twitch Sub Badges collection, designed in the correct sizes and formatted for instant use.